 (1)")


For those entirely new to EV charging, it’s recommended reading through our provided guide on selecting the best EV charger for an EV following your home’s electrical system. However, since this post has already been accessed, it’s safe to assume that ownership of a Proton eMAS 7 is involved. Unravelling the process of Proton eMAS 7 charger installation is intended to provide a clearer understanding of EV ownership.
Preliminary steps to Proton eMAS7 Charger Installation
Considering that the installation is done at your home, we would have to assess the electrical system. These preliminary steps are critical in eliminating any discrepancies that your electrical system may harbor such as insufficient capacity of the main cut-out fuse at the TNB meter. Additional points of interest below are added in the preliminary steps before installing the EV Charger.
- Capacity of main cut-out fuse
- Condition of Main Distribution Board (DB)
- Current (A) load of the home before installation.
- Space for Protective Device on Main DB.
- Incoming Supply Type.
Importance Of the preliminary steps to Proton eMAS 7 Charger Installation
Capacity of main cut-out fuse
For EV Chargers that are 7/11 kW ,the recommended capacity of the main cut-out fuse should be 63A or 100A, notably suitable for homes that are of single phase. By contrast , the 22 kW should only be installed at homes of three phase. This is due to the nature of how these EV Chargers operate at differing amps. Failure to comply will lead to the main cut-out fuse melting out due to over-capacity in current load.
| EV Charger (kW) | EV Charger (A) | Recommended Cut-Out Fuse (A) | Incoming Supply Type |
| 7 | 32 | 63 | Single Phase |
| 11 | 16 | 32 / 63 | Three Phase |
| 22 | 32 | 63 | Three Phase |
Condition of Main Distribution Board (DB)
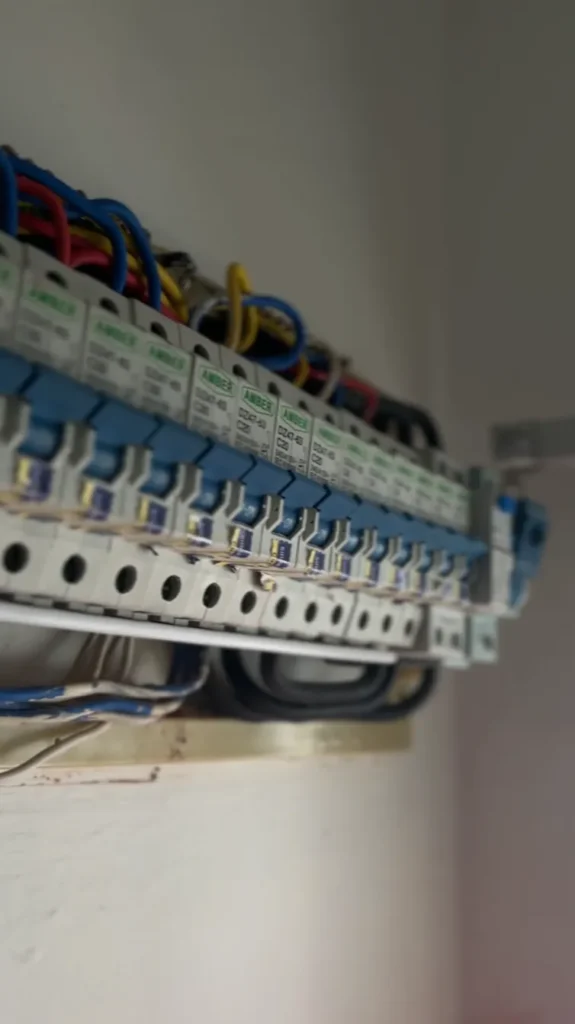
The components that are deemed to be faulty by observation from our technicians are notified to the customer. The degree of faultiness such as obvious signs of burn marks or absence of proper earthing that is required will needed to be rectified following the significant risk of electrical hazard.
Average Current Load of Home Before Installation
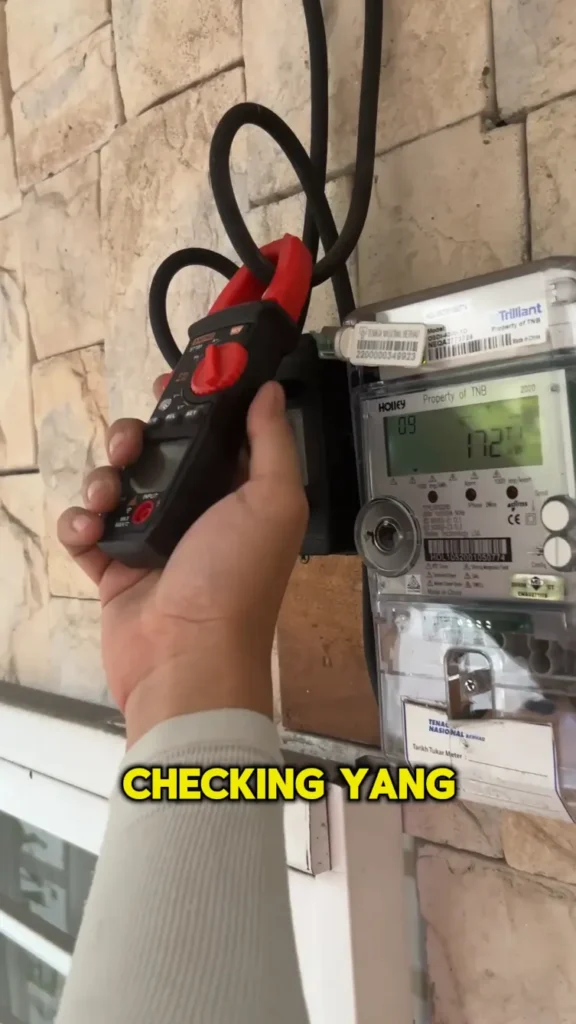
For every EV charger installation, initial readings of the home’s average current load are taken with all high-load equipment, such as air conditioning, turned on. From these readings, it can be determined whether an upgrade of the main cut-out fuse is required.
The available space within the Main Distribution Board
Our installations require space to mount the protective devices intended for the EV Charger. As per usual, a Sub-DB is installed to isolate the EV Charger system with the rest of the components in the Main DB. Instead of overcrowding, the Sub-DB provides neat, accessible, organized wiring.
Installation kick off : Setting the foundation of the Proton eMAS 7 Charger Installation
Analyzing The Home Layout
Great consideration is given to the customer’s input when determining the routing of the EV charger from the main DB to the installation point. This is discussed with the customer prior to commencing work to ensure mutual agreement and satisfaction. Where the installation path allows, the customer’s preference is followed. If this is not feasible, suitable alternatives are proposed that align as closely as possible with the requested requirements.
Moving and Covering Up Belongings
Any belongings within the workspace are either temporarily moved or covered with a protective plastic canvas. This precaution is necessary as the Proton eMAS 7 charger installation may involve hacking or drilling to route wiring from the main DB to the installation point. Ensuring that dust build up is minimized.
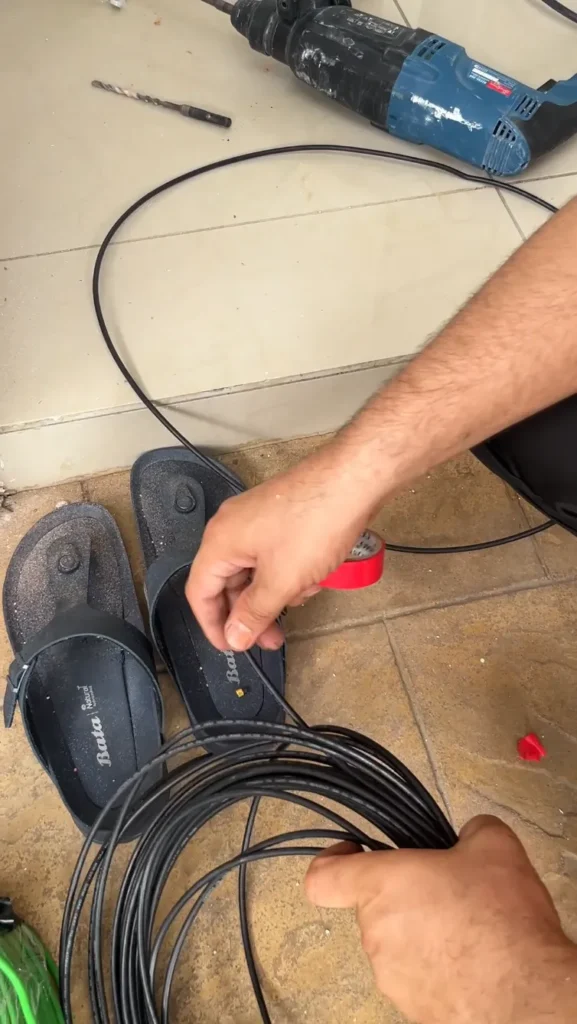
Measuring the required cable length
Once routing is decided, the cable length required to pull from the Main DB is measured with consideration to the chosen pathway, minimizing bends and obstacles that may affect the run. Ensuring accurate length and avoiding unnecessary expenditure to extra cabling.
Cable Sizing And Brand
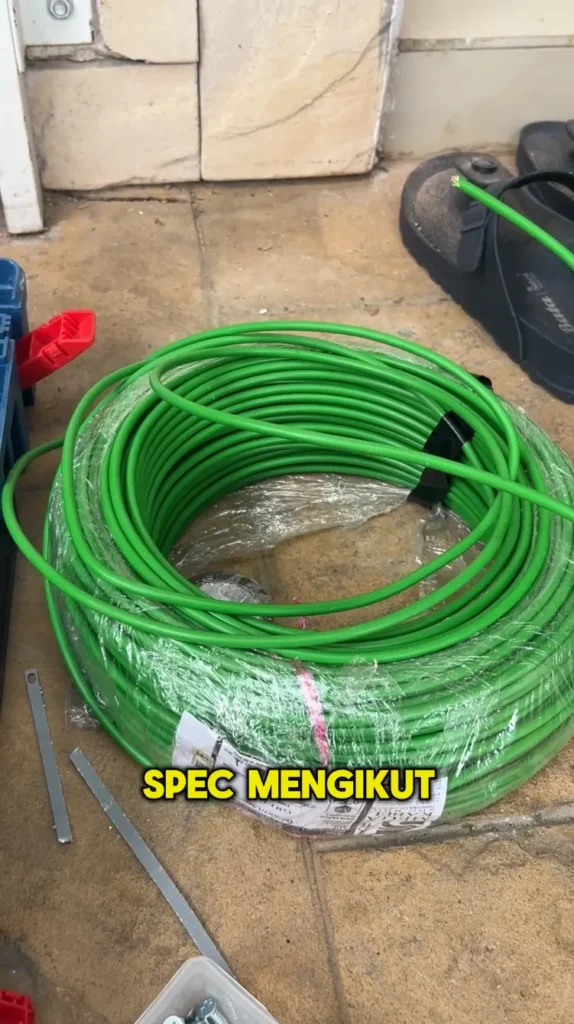
The cable sizing that we work with for the Proton eMas 7 Charger Installation is 6mm². The brand that we trust that a majority of those who work the same field as us recognize is non other than MEGA, which also has SIRIM certification for the cables provided. Alternatively, 10 mm² cables are optional and dependent on the customer.
Number of Cables
The Proton eMAS 7 Charger Installation is 7kW and is compatible with the single phase electrical system. The number of cables required to complete this installation are three :
| Conductor | Purpose | Color Code |
| Live (L) | Carries current from supply | Red/Yellow/Blue |
| Neutral (N) | Returns current to supply | Black |
| Earth (E) | Grounding | Green |
Cable marking
Despite the use of non-color coded cables, every Proton eMAS 7 Charger Installation cabling work is marked with tape corresponding to the phase, guaranteeing that no mix-up happens during termination of the wire to end point of each component and device.
Drilling and Hacking
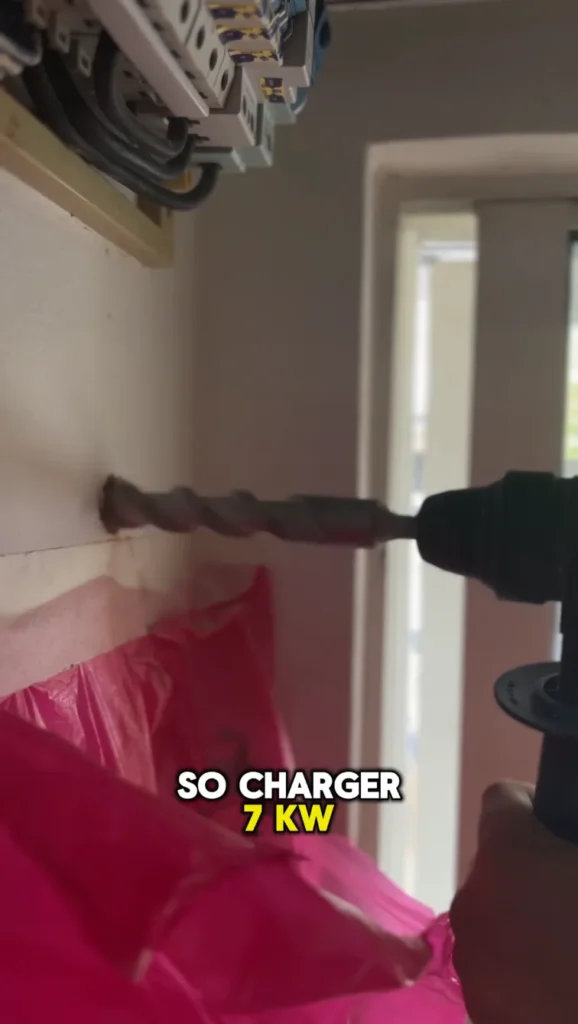
Depending on the where the installation point is located, routing the cables can be straightforward or slightly complex. For a back to back installation in which we refer to as the installation point positioned directly behind the wall to the Main DB, will minimize drilling and hacking works.
However if the layout is complex, the need for a manhole might be necessary to complete the installation, along with multiple entry points made with drilling or hacking.
What’s protecting the 6mm² cable.
For the cables we make use of a PVC conduit of pipe or flexible in areas where it is required. This is provided along the entire pathway of the cable work, intended to provide additional mechanical protection from critters such as rats that might chew through the wires or cuts from abundant metal trays above ceiling carrying other extensions of the home’s electrical system. Additionally, the conduit provides protection from the nature’s elements, improving the lifespan.
The Main Components of the Proton eMAS 7 Charger Installation.
The RCCB and MCB
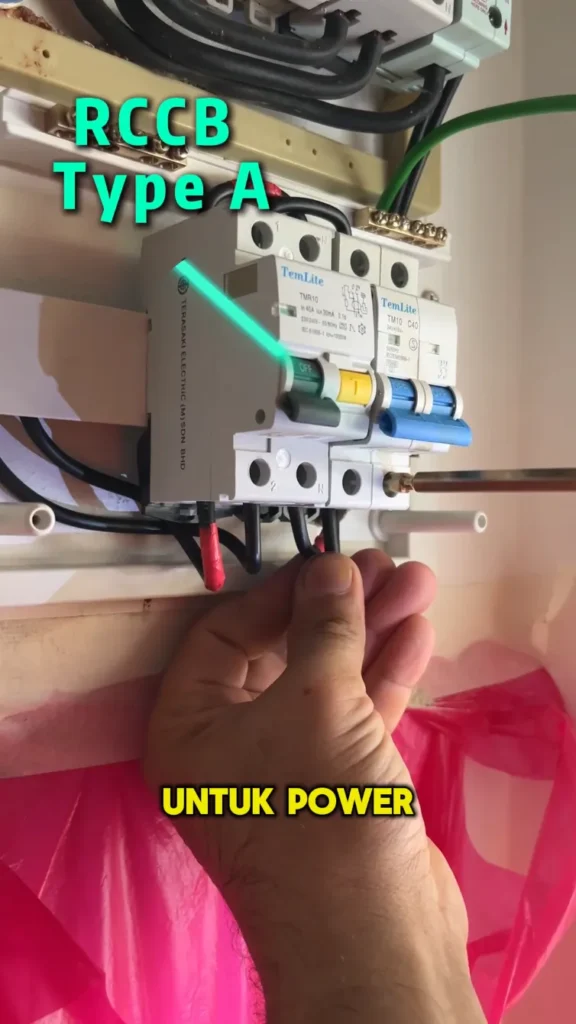
The Proton eMAS 7 charger installation is single-phase and therefore requires the use of a RCCB Type A+ (2-pole) and an MCB C-Curve (2-pole). These protective devices are mounted on the sub-DB bracket and are isolated from the main DB
The Wiring
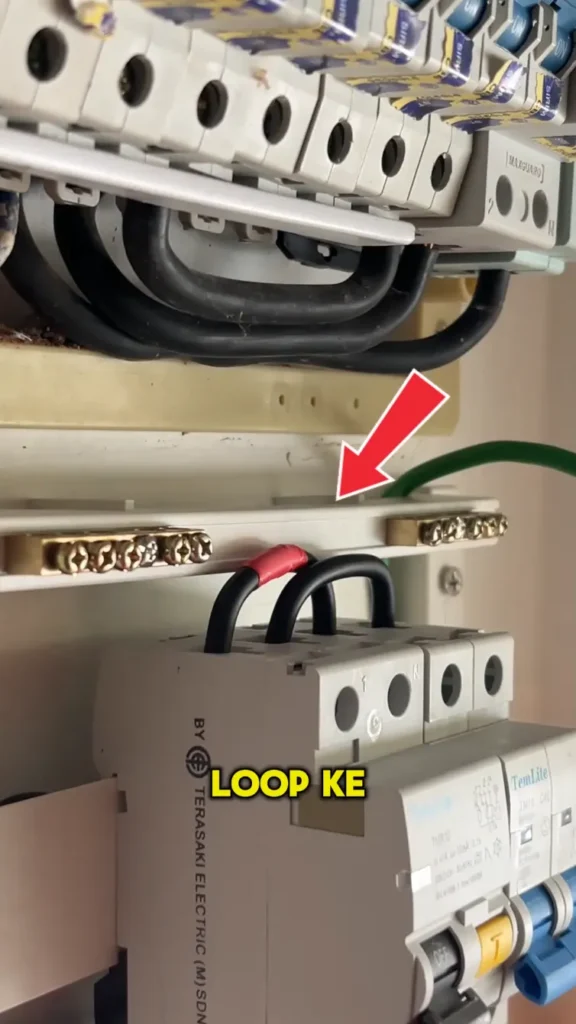
The supply for the EV charger is taken from the incoming side of the main DB, which is essentially the incoming supply source. This ensures that in the event of a failure within the EV charger system, the entire house will not be tripped. The live and neutral conductors are then fed to the outgoing terminals of the MCB, looped onto the top side of the RCCB, and subsequently channeled to the isolator located near the installation point.
Lug/Ring Connectors
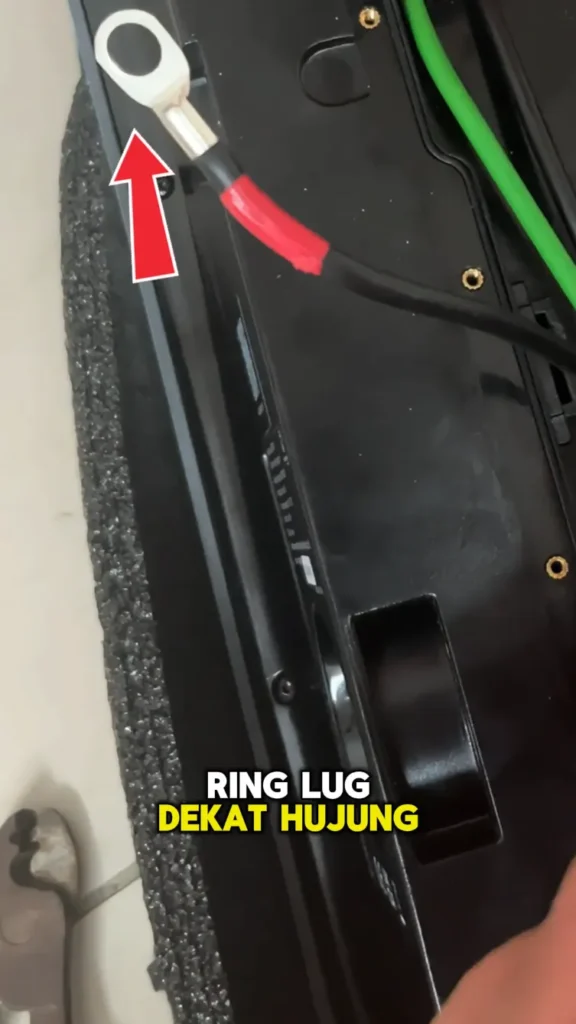
Unique to select few EV Chargers such as the Proton eMas 7 Charger are live terminals that require the crimping of the copper cable ends. This method is applied to ensure that the contact point for current transfer is reliable and reduces the risk of a loose connection during high load charging.
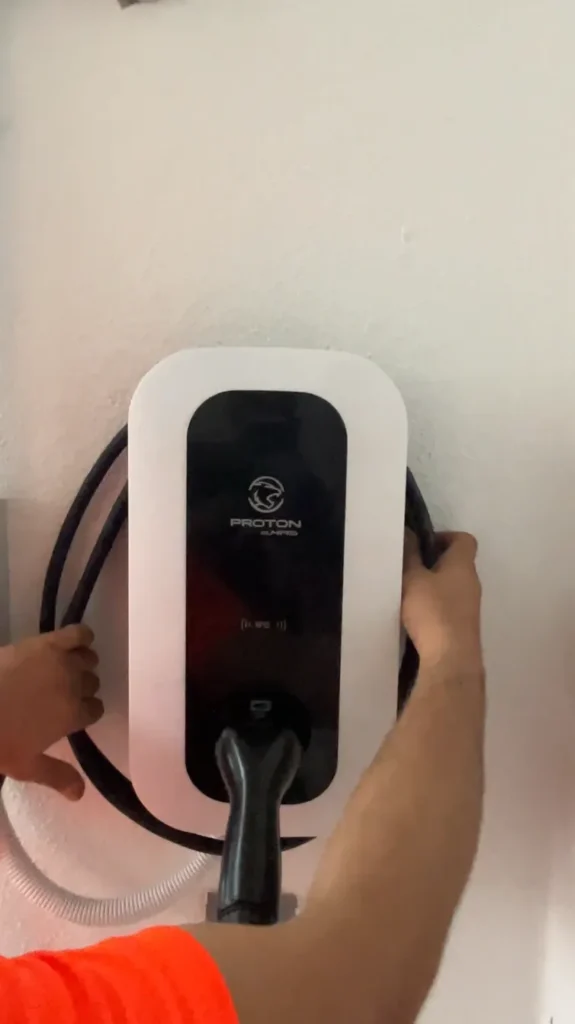
Mounting Template
The Proton eMAS 7 Charger Installation is carried out with the use of a proper base mounting template through which the charger is securely mounted. The neatness of the installation is further reinforced by the use of a leveling tool, ensuring that the charger is properly aligned and firmly seated.
Isolator
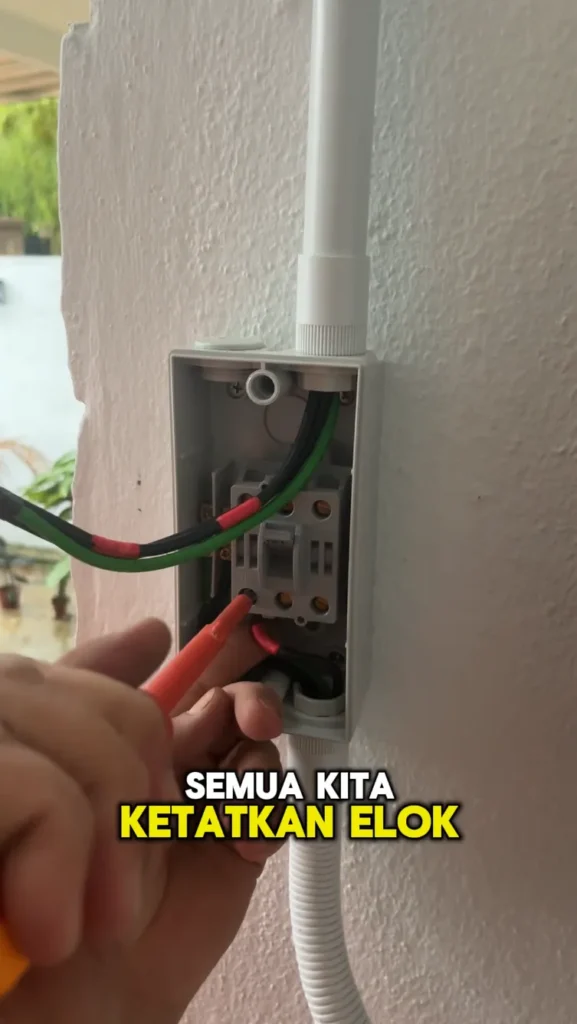
For every installation, an isolator is utilized as the primary switch to energize or de-energize the EV charger. The outgoing terminals of the RCCB are connected to the input of the isolator, after which the isolator’s outgoing supply is directed to the live terminals of the Proton eMAS 7 Charger Installation. Prior to connection, the copper cable ends are crimped with a ring connector to ensure a secure and reliable termination.
Post Installation
Verifying EV Charger safety
RCCB Trip Test
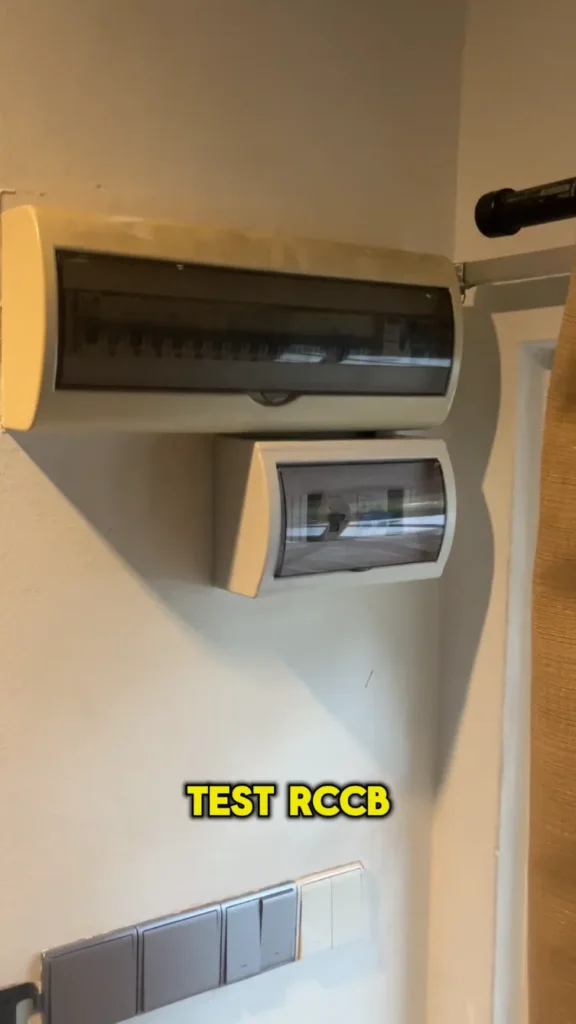
Before the Proton e.MAS 7 is plugged in for validation of the charging rate, the legitimacy of the EV charger’s protective components is verified. An RCCB trip test is performed to confirm that the device is capable of tripping effectively whenever a fault occurs.
Check current load on EV
Once the EV charger has been primed for charging, the current load or charging rate of the Proton eMAS 7 Charger Installation is verified through the dashboard display of the Proton e.MAS 7. This verification is carried out to ensure that the maximum output is delivered consistently during the charging process.
